Creating scroll animations with ScrollMagic
Sometimes when building projects we need to animate elements as you scroll down the page. Most of the time we will use something simple like Animate On Scroll, a great javascript library that allows you to easily fade in elements as you scroll to the on the page.
However, this package is purposefully quite limited in scope, (to make it quick and easy to implement), and occasionally we need to do something a bit more complicated.
This is where ScrollMagic comes in!
ScrollMagic is a different javascript library with a lot more control and versatility, such as the ability to pin an element to a specific scroll position and the ability to synchronise the animation with your scrollbar movement.
I recently used ScrollMagic to build this hero section for our new Tap hosting landing page:

Let me walk you through how I did it.
First, we need our curved elements. I chose to build them using CSS, as they were fairly simple elements but they could easily have been images or SVGs.
Each curve was contained in a <div> and given an ID.
Next, we want to install scroll magic, either by CDN or NPM.
ScrollMagic works by using Controllers and Scenes. There should always be one Controller for each scroll container (which is usually just the browser window). Each Controller can have multiple Scenes, which define what should happen and when it should happen.
So in our JS we’ll create a new Controller and assign it to a variable so we can easily reference it later.
var controller = new ScrollMagic.Controller();Next, we’ll build our animations. ScrollMagic recommends you pull in GSAP which can also be installed via CDN or NPM.
GSAP has a lot of features, but for this project, we’re just going to use GSAP’s TimelineMax tool. This allows us to set a start and end position for each curve animation.
First, we’ll create a new Timeline and assign it to a variable called tween. We can then target each curve by its ID and set the rotation, x-coordinate and y-coordinate. The first array is the start position and the second array is our finishing position.
After the arrays, we can define what order the animation should occur, for this project we wanted both curves to move at the same time, so we’ll give them the same order position of 0.
Which looks something like this:
var tween = new TimelineMax()
    .fromTo("#heroCurve1",
        { rotation: 25, x: "17%", y: "-50%" },
        { rotation: -10, x: "17%", y: "-50%" }, 0
    )
    .fromTo("#heroCurve2",
        { rotation: 190, x: "28%", y: "-45%" },
        { rotation: 220, x: "28%", y: "-45%" }, 0
    )
We then need to add our animation to a new Scene and add that scene to the controller.
Lastly we need to set a duration for the animation. Within the Scene we can define some options, including the duration. By setting the duration to 100%, the duration will be the inner height of the scroll container which in our case is the whole page.
var scene = new ScrollMagic.Scene({
duration: ‘100%’
})
.setTween(tween)
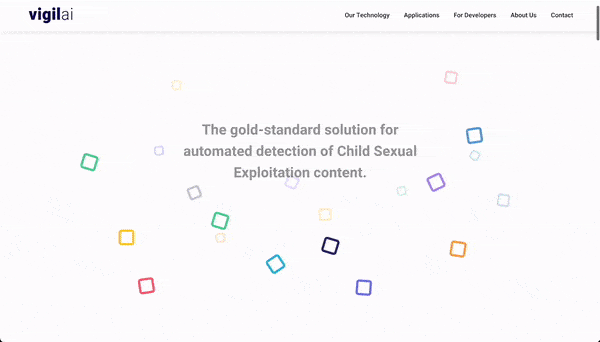
.addTo(controller);ScrollMagic and GSAP makes building scroll animations a lot easier, and you can chain together animations/scenes to make unique scroll effects, like this one we built for Vigil Ai
More Articles
Why Statamic for Membership Platform
Why Statamic works brilliantly as a membership platform for large organisations. Flexible, secure, and built on Laravel.

Laravel for Agentic Development
If you're a founder, CTO, or product manager with a Laravel-powered platform, understanding what these are and what they make possible puts you in a much stronger position to make good decisions.
Eloquent explained: what it is and why it matters
Eloquent in plain English. What Laravel's ORM actually does, why your developers love it, and the questions to ask in your next project meeting.
